Mixing engineer and music tutor Philip Röder on how to build your own studio
Posted on 2018-12-11T23:00:00+0000 in Catalyst
How do you build your own studio? Music producer, mixing and mastering engineer, and Creative Audio Production & Sound Engineering tutor Philip Röder gives us some tips and advice.
The skies are as grey as the factory buildings when I jump off the number 21 tram in this endearingly industrial edge of Lichtenberg. For once, I’m not heading to the Spree-side oasis that is Catalyst, but the opposite direction: to music producer and mixing and mastering engineer Philip Röder‘s self-built studio, tucked away in a little terraced house. “Was it a happy coincidence you ended up right down the street from the school?,” I asked the Creative Audio Production & Sound Engineering tutor as soon as I had taken a seat – and a festive treat – under the welcoming warmth of vintage industrial lighting. “Yes, absolutely,” he replied, noting his delight that not only can he get all of his work done in one location, but that he can easily demonstrate his professional setup to his students, too.
Having followed Philip’s journey on social media, I wanted to glean as much expert insight as possible on how exactly to build your own studio. Clearly, it’s no easy feat. I watched in terror his pictures of towering construction material deliveries and DIY in summer’s infernal over-35-degree heat. Of course, I had seen nothing of the extensive research and psychological endurance the Copilco Productions founder also had to weather, in order to single-handedly craft the mixing and mastering studio of his dreams. “When you come to your self-built room, you feel different, I think,” he smiles. “You can look at it and say, ‘okay, I’ve built this.’ That’s an amazing feeling.”
What was obvious in the 30 or so minutes I spent interviewing Philip is that, frankly, he really knows his shit. If you’ve ever thought about building your own studio, or you’re curious to learn the ins and outs of the process, you can consider Philip’s insightful following points as essential reading.
“It was pretty clear that I would do this on my own. I just hadn’t done anything on this scale yet”
1. Do it for the right reasons

Building your own studio should never be solely about saving money. Although, it’s definitely a nice bonus, with a professional studio outfit by a renowned brand or acoustician potentially costing at least 10,000 euros, according to Philip. Conversely, it was Philip’s handyman side that really sealed the deal.
“I get loads of joy from doing it,” he explained. “On the one hand, it’s a nice challenge, and I also like building stuff. I like working with my hands. It’s not an easy process. I don’t even know if I would do it again in a few years if I should move to another space – just because you lose so much time on the way. But it’s a lot of fun.”
Another reason was being able to have full control: “I have a little bit of a perfectionist side and I try to combat it as much as possible. But sometimes – especially when things are as important as acoustics in a studio – I just don’t want to get anything that’s half-assed.”
Unsurprisingly, given the stunning final result, this wasn’t Philip’s first studio build. “I already had another studio in Munich,” he added. “Everything there was DIY. So, for me, it was pretty clear that I would do this on my own. I just hadn’t done anything on this scale yet. That was also something that scared me in the beginning.”
2. Hone your craftsmanship skills

“If you’re good at working with wood, then you’re good to go – you don’t need anything else”
Of course, no matter how much you enjoy DIY, you also need to be good at it in order to undertake such a project. “You have to have at least a minimum of craftsmanship skill,” Philip noted. “If you’re good at working with wood, then you’re good to go – you don’t need anything else.” But before going in, all power tools blazing, it’s also essential to do your research.
“This is the most important thing,” he cautioned. “Because there are so many myths out there about acoustics and where to place stuff. For example, which types of panels to get. You really have to do your homework to actually benefit from the process. So, if you do your homework and get all this done, then you will save a lot of money, have a nice time building things, and actually have a room that feels super personal. It’s priceless.”
3. Be prepared for the strain

“You can save a lot of money by doing it yourself, but you have to know that you will put in a lot of hours”
Look, nobody wants to put a downer on the whole thing – what could be more exciting than a custom-built studio? But, before you get down to business, you’ve got to be realistic. Acoustics and cool music stuff aside, the bottom line is that manual labour is hard, requiring a healthy amount of physical and psychological grit.
“The first two weeks are super happy and you think, ‘yeah, this is really working, it’s a lot of fun’ and so on,” Philip confessed. “But when you approach the end of the second month building stuff and renovating your apartment, you’re just exhausted. It’s more psychologically than physically challenging.
"I really wanted to get back to working on music and doing what I’m driven to do, not keep on building forever. You can save a lot of money by doing it yourself, but you have to know that you will put in a lot of hours. I did it during summertime when I didn’t have any Catalyst classes. That was good; I had more time. Usually, during the summer, my mixing and mastering clients don’t have that much work for me, so it was kind of a slow two months. In that time, when it was brutally hot here in Berlin, I was outside building acoustic panels. I could never do something like this in wintertime or spring; I just wouldn’t have the time for it.”
4. Spend time choosing the right space

"When I entered this space, I was just blown away. It looked amazing. It was super worn-down at the time, but I saw the potential”
The three golden rules of hunting for the perfect space: be picky, be patient and be sure that you can trust the landlord. Philip was lucky enough to hear about the spaces in this quickly developing area of Berlin from fellow Catalyst music tutor Chris Jarman, a.k.a. Kamikaze Space Programme. “He told me that he got a space here and said the owners were super nice, friendly and open,” Philip revealed.
But, despite everything looking promising after getting onto the property waiting list, Philip kept a cool head. Three flats met his scrutiny before he finally settled on his current space. “When I entered this space, I was just blown away. It looked amazing,” he enthused. “It was super worn-down at the time, but I saw the potential.”
Philip stressed that space requirements differ for individual studios – in this case, comparing a mixing and mastering studio to a recording studio. “In a recording studio, you usually have two rooms: a control room and a live room. Although some studios just have one big room with a live and control room all in one – but that’s a different scenario.”
Comparatively, the sound and atmosphere of a recording studio should also be more lively. “The sound would be a little more about diffusion than absorption. Here it’s clearly more absorption than diffusion,” he pointed out. “In a recording studio, I would also make sure that the artists there feel comfortable.
I’ve seen a lot of recording studios that look super boring and very engineery. That’s not the point of it – if you want to create great art there, collaborate with amazing artists, help them and facilitate their growth.”
“Creating an amazing space where people can let go of everything and focus on their music; that’s way more important than acoustics at that point. The same goes for a combined live and control room. Obviously try to get some treatment that allows you to work at your listening position and to actually judge what you’re recording. At the same time, though, in the part of the room where you are recording the band, try to keep that as lively and interesting as possible. Somewhere that people can just hang out.”
5. Know how much noise you’ll make

“I’m not recording any artists here so I don’t have the worry that I will disturb my neighbours”
Soundproofing and acoustic treatment are NOT synonymous – unless you’re a musical ignoramus, that is. They are, in fact, completely different things, which admittedly I only found out after asking Philip how much he spent on soundproofing. “Nothing, not a single cent,” he grinned, much to my bemusement. Of course, soundproofing would be an important consideration if you were planning on setting up a recording studio, rather than a mixing and mastering studio like his.
“I’m not recording any artists here so I don’t have the worry that I will disturb my neighbours,” he offered. “My listening levels are quite conservative. I try to listen at low levels so I can work for a longer period of time. "
"That’s a little pro tip, by the way: if you want to be able to work six to eight hours – or even more – on music per day, you have to turn down your volume. If you turn down the volume, it makes your ears listen more carefully. It’s like when somebody’s whispering; you have to focus a little bit more. That’s the secret to achieving great balance between different tracks. Another pro tip: always work at the same listening volume. You can also have a ‘louder’ and a ‘quieter’ setting. Just make sure you get some kind of consistency in your process. Your ears react differently depending on the volume, so you want to ‘calibrate’ your most precious tools to a certain degree.”
6. Before making any commitments, do your research

“You can get a lot of benefit without investing anything but time”
As Philip wisely pointed out, in the studio-building process, “you can get a lot of benefit without investing anything but time.” Even if you think you may have found the perfect space, it’s important to do extensive research and measurement before signing on that dotted line. “Most of it was reading up on acoustic science as much as possible,” he expressed. “I had a very solid background of knowledge, so the foundation was there, but I still had to refresh that knowledge a little bit. So, I went into super-nerd mode and read acoustic books and certain amazing blogs.
For example, Acoustics Insider. That’s run by a friend of mine called Jesco Lohan."
"He’s an amazing acoustician and he also focuses on these kinds of rooms. Not the multi-million-dollar facilities, but getting the most out of these real-life rooms.”
Measurement software like Room EQ Wizard (REW) is also invaluable in these preliminary stages, Philip advised. “We have it installed on many computers at Catalyst. If you ever take an acoustics class at Catalyst, you will definitely find out about that software. It’s great because it’s free. And for the measurement microphone, the cheapest one by Behringer actually does the job.”
7. Really, really know your acoustics

“Sound in a room is always problematic and something like a ‘perfect room’ cannot exist”
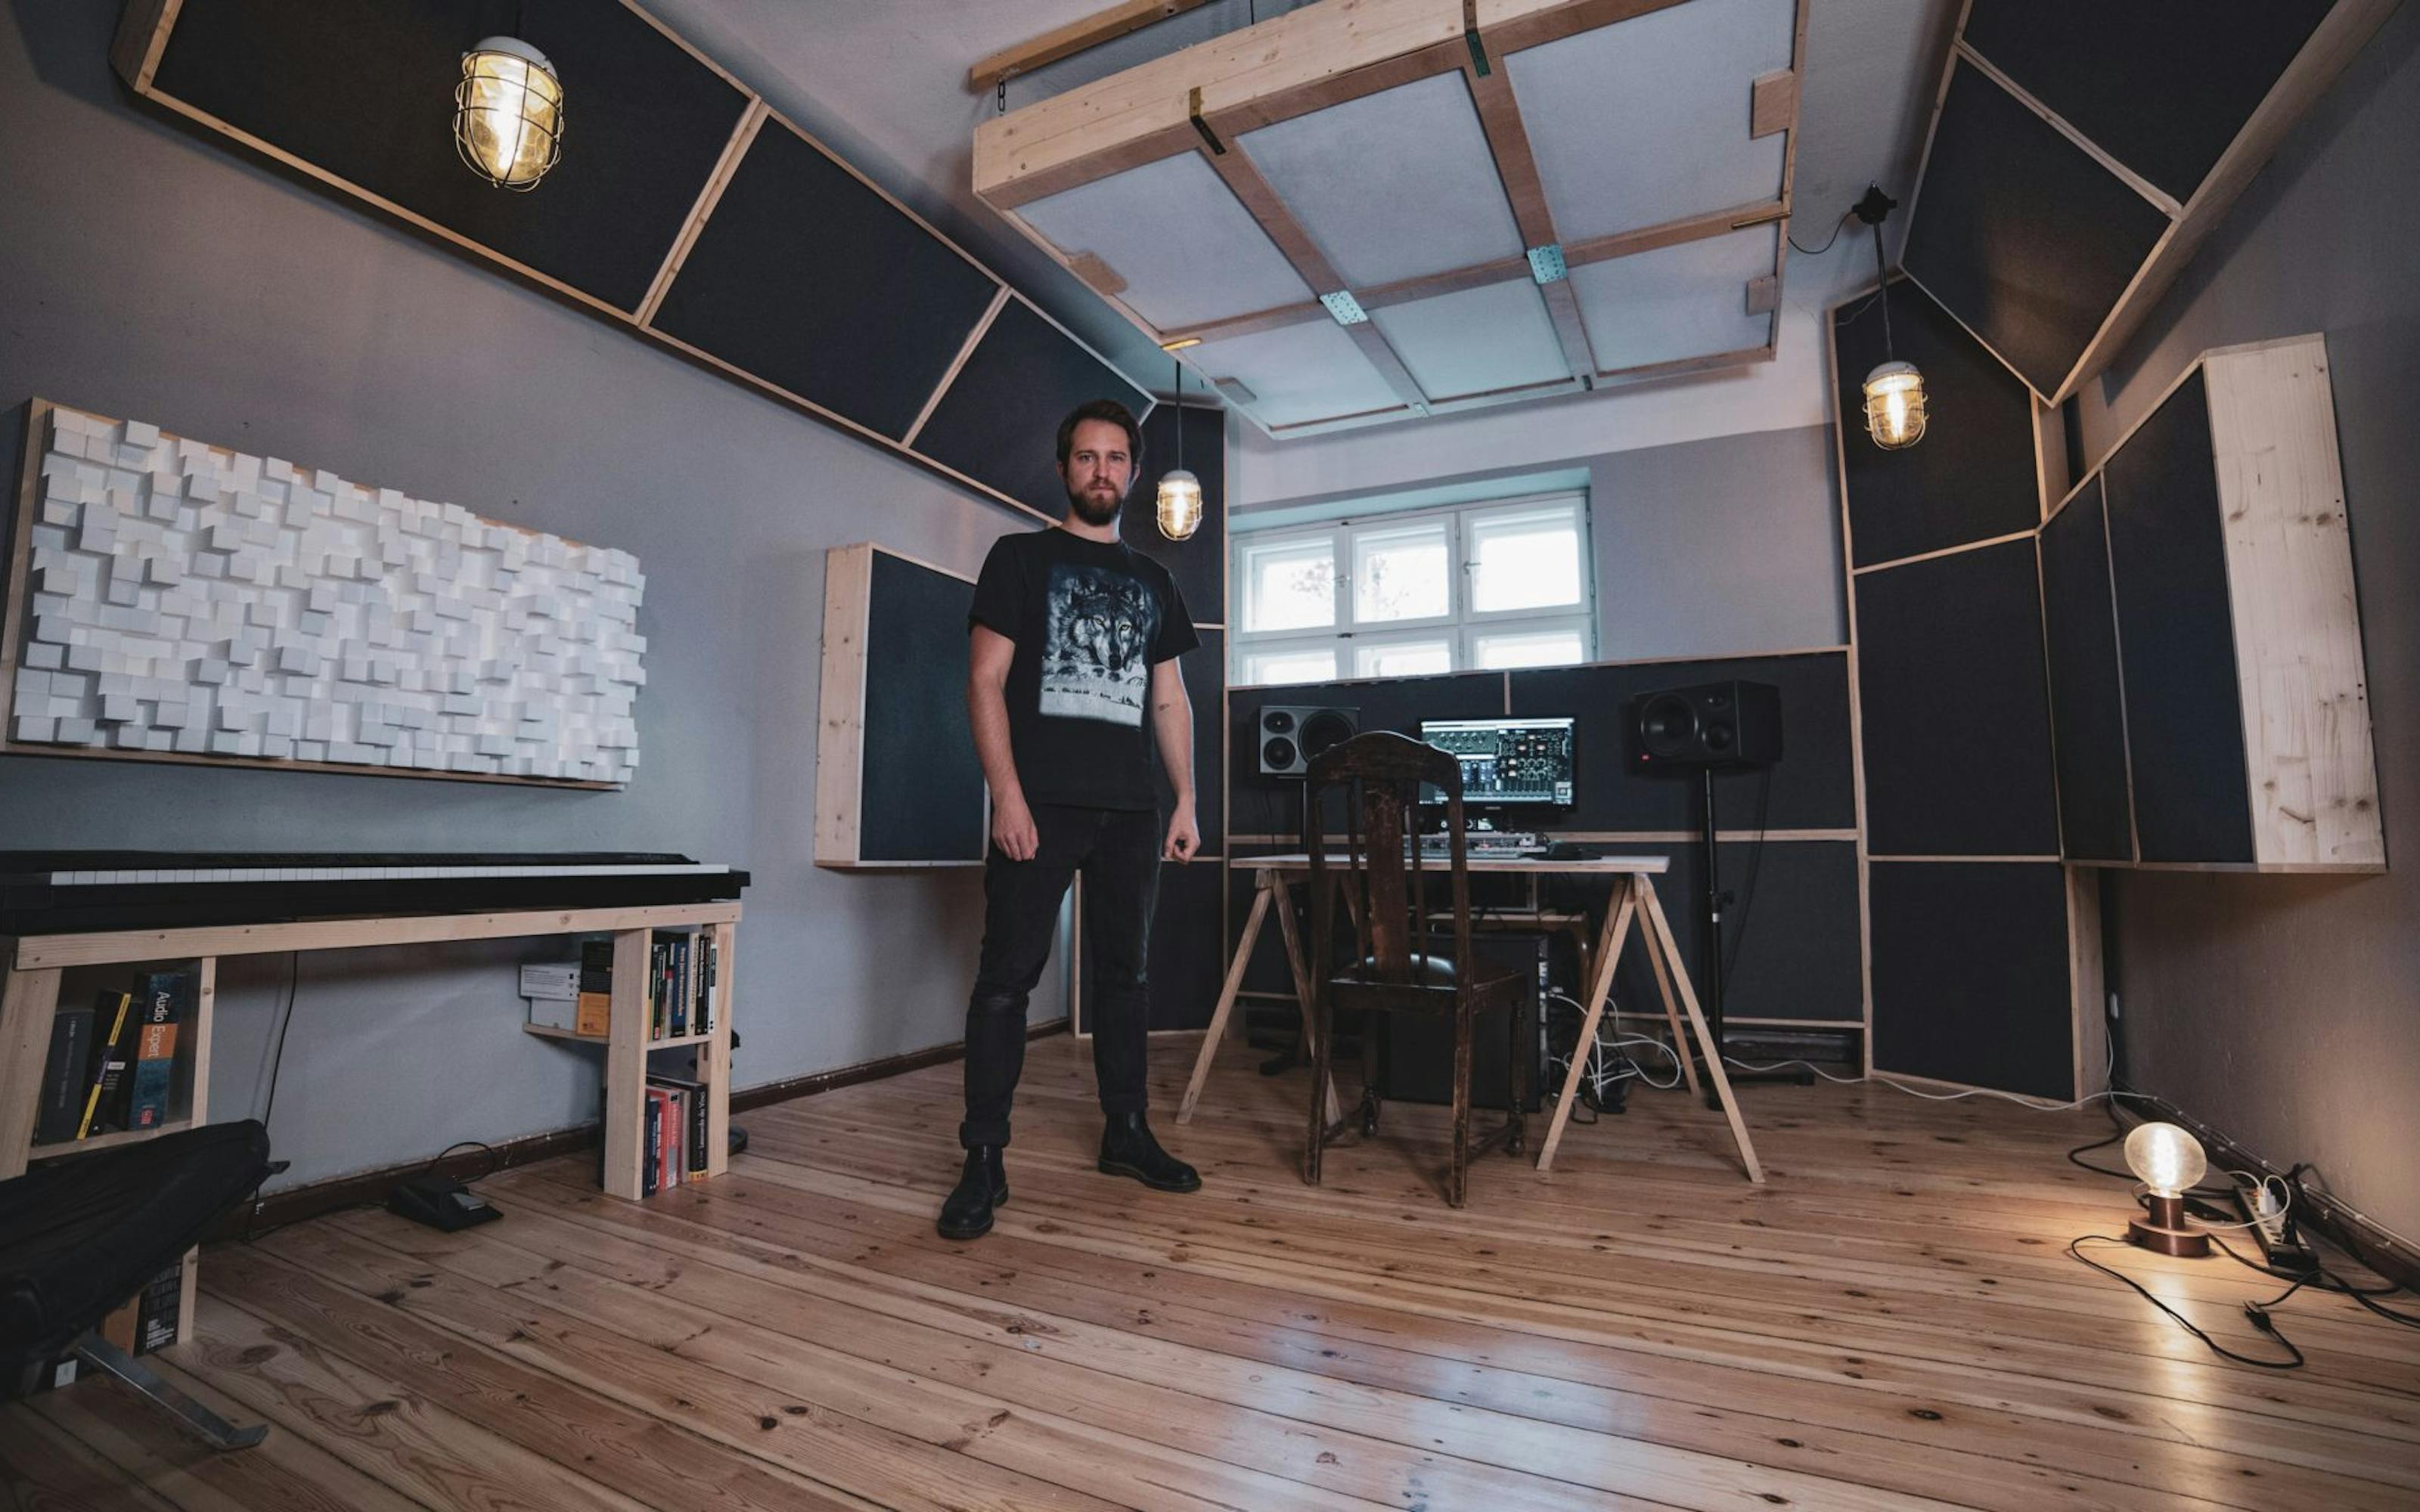
Okay, so we know that to be successful in this game, you have to be an acoustics whizz. But what exactly does that entail? Standing in what seemed to me to be a pretty normal room – if it weren’t for what only a n00b would describe as a collection of giant wooden boxes (broadband absorbers and bass traps) and funky cubic decorations (skyline diffusers) attached to the walls and ceiling – I had to ask, “how can you tell that a room acoustically makes sense?”
“It has to do with the distribution of so-called room modes,” Philip answered, proving exactly what he meant by super-nerd mode. “Room modes are basically the self-resonating frequencies of the room.
"These ‘standing waves’ can be excited between the left wall and the right wall, the front wall and the rear wall, the floor and the ceiling and in various other forms. For example, diagonally between corners. The shape of the room and its dimensions dictate the frequencies of these standing waves.”
“Sound in a room is always problematic and something like a ‘perfect room’ cannot exist,” he admitted. “There will always be zones with lots of air pressure and zones with very little air pressure. But some rooms have a geometry that distributes these room modes evenly across the frequency spectrum and are therefore easier to deal with.”
8. Never underestimate your listening position

“Your listening position and the position of your speakers are a very, very big part of how your room will sound in the end”
As Philip would explain in detail, considering and calculating the right listening position is vital. “This is what people often forget,” he asserted. “Your listening position and the position of your speakers are a very, very big part of how your room will sound in the end. That’s before you even have acoustic treatment. People just skip that step because they think, ‘oh yeah, I’ll just put my stuff here and then I’ll place some panels and then everything will be fine.’ But if they forget this very important first step of speaker placement and finding out the best listening position, they sacrifice a lot of potential positive results.”
“The only thing you have to do to find the best listening position and speaker placement is basically, at the beginning of the planning phase, just put your speakers and yourself in an equidistant triangle in the room and try different positions."
"Try to find a great listening spot and then experiment with the corresponding speaker placement position. There is no right or wrong. Sometimes speakers sound great when they are placed away from the wall. Sometimes speakers sound great when they are really, really close to the wall – which a lot of speaker manuals get wrong. They say, ‘please don’t place it too close to the wall.’ But, in fact, you have to try that stuff out for yourself.”
Philip is convinced that room and speaker correction software can make a big difference to the final acoustics. “Sonarworks is the brand I personally use,” he advised. “Room and speaker correction software digitally helps you to cope with some of your room’s problems. Although, it cannot turn a very problematic room into a good room. "
"But if you have a minimum of acoustic treatment going on in your room, and then you also use room correction software, you can get to a way better level. It also helps if one speaker is a little bit louder than the other, or if the frequency response of one speaker is a bit different from the other one. It kind of helps you to elevate that to the same level. This is definitely something worth exploring, but not the end-all solution to your problem.”
Ultimately, Philip added, trust your gut feeling and your critical listening skills. “If you find a certain spot in the room that you feel sounds great, then you’re probably right. The only question you have to ask yourself is, ‘am I able to work here in a way that makes sense ergonomically and gives me the feeling that I can trust in my decisions?’ If those two boxes are checked, then you’re good to go.”
9. Always get a second opinion
“I finalised my planning concept together with Jesco Lohan of Acoustics Insider”
Even studio builders as seasoned as Philip would be wise to get a second opinion on their plans – preferably from a professional. “I finalised my planning concept together with Jesco Lohan of Acoustics Insider,” Philip revealed. “I did all the design and the planning by myself and then showed my plans to him. For example, I created 3D models of the room in which I put all the acoustics and materials, which we then discussed. We took measurements in the empty room to find out the perfect listening position and speaker placement before even building the acoustics.”
10. Iron out your budget

“If you buy one or two super-expensive, super-special panels and think they will save your day, you will be very disappointed with the results”
Now, we may have sidelined all the money-saving spiel at the beginning, but let’s face it: if you had money to waste, you probably wouldn’t have chosen to build your own studio in the first place. Budgeting is key – if you want to keep your renovation in the region of 5,000 euros or less. But rather than cutting costs across the board, a shrewd studio builder knows where exactly it’s important to invest – or not, as the case may be.
“Most of my budget went on acoustic treatment,” Philip confirmed, calculating his acoustics expenditure as roughly 2 to 3,000 euros of the total 5,000 euro renovation. The renovation included building a new kitchen, stripping the doors and floors and giving the whole place a lick of paint. “My whole strategy for the room was to get a super-even frequency response. I also wanted to even out bass decay times at the listening position. This was my only goal. Everything is designed in order to sound fantastic at the point where I sit and work.”
Invest in acoustics, but don’t overinvest in brand names, he warned. “Don’t think that one magic thing or specialist tool – for example, a Helmholtz resonator or plate resonator or any fancy acoustic wizardry – will save the day. A lot of standard broadband bass trapping will pretty much do 90 percent of the work. If you buy one or two super-expensive, super-special panels and think they will save your day, you will be very disappointed with the results.”
Reassuringly, if you are a bit tight on cash, you needn’t do all of the acoustic treatment in one go.“You can just start with the most important things,” Philip added. “Begin with the first reflection points, then go on and build the bass traps in the corners, then build something for the back wall and behind your speakers, then treat the remaining corners, then start building a cloud, and so on.”
11. Know your egg boxes from your absorbers

“I will never stop myth-busting these types of things. Egg cartons or any type of foam are a bad idea if you’re only going to use them alone. Egg cartons don’t help at all”
We’ve all been there: the bedroom ‘studios’ of our teenage mates. Those magically musty musical grottos. Walls, ceilings and windows alike crudely lined with years’ worth of mum’s recycled egg boxes – and the odd sorry bit of foam. Who would I be not to quiz Philip on the humble egg carton’s acoustic credentials, if not for personal curiosity, then for collective nostalgia’s sake?
“Okay, yeah, that’s something really important to address,” he laughed. “I’m happy you asked that because I will never stop myth-busting these types of things. Egg cartons or any type of foam are a bad idea if you’re only going to use them alone. Egg cartons don’t help at all. Any type of thin and cheap foam – even expensive foam – will not absorb any bass frequencies. Some manufacturers try to sell you that, in my opinion, in a very sleazy way. I’m not a big fan. I really call it a lie because it’s scientifically not true.”
“If you run tests on these materials, it’s just so obvious that they don’t help you with bass frequencies. Bass frequencies are the biggest problem in most small studios.
"You can use a very high-class type of foam on your first reflection points – so left and right from your listening position. And probably also for the cloud – that’s what this thing hanging from the ceiling is called. You will still not absorb bass, but at least you will improve your stereo image a little bit.”
Nobody in their right mind (surely?) would be trying to botch an acoustics job if they weren’t on a budget. But Philip’s suggestion is to stay away from foam in general as much as possible, and instead invest a little more time and effort. “Get broadband absorbers that are filled with so-called insulation material,” he advised. “It’s basically the same thing you put in roofs to stop the heat from escaping. But the insulation has to carry certain physical values. There’s a pretty nice article on Acoustics Insider that explains how to find these types of materials if you want to build it on your own. If you have a certain thickness – I’d say 16 centimetres – of absorbers filled with the right material, you will definitely absorb down to 60 or even 40 hertz. That’s amazing.”
Another rather interesting acoustics ‘urban legend’ is bookshelves, Philip added. “Sometimes people say, ‘oh yeah, just put a bookshelf somewhere, place the books a little bit randomly and you will get a diffuser out of it.’ A diffuser means something that breaks the sound waves and distributes them in a lot of different directions.” He points to the white, beautifully cubic diffusers on the left and right walls that I had initially taken to be purely decorative.
“First of all, diffusers – even if they’re correct diffusers – work in a very limited frequency range, so will also not help you with bass,” he expanded. “Usually it’s mid-range, high-mid-range or top end. But a bookshelf doesn’t work at all. Probably it’s a little bit better than just having a blank wall. But these diffusers are built in a very strict mathematical, pseudorandom, order that just makes sense acoustically. A bookshelf doesn’t have those mathematical equations behind it, so it will not work.”
12. Be aware of your space’s limitations

“I decided to build a super-big cloud and I completely underestimated its weight”
Every space has its limitations. Unfortunately, Philip discovered his when he’d already got most of the way through the building work. When asked whether there was any part of the process that didn’t quite go to plan, he replied, the cloud on the ceiling. “It’s super heavy because it’s filled with this insulation material. That stuff is heavy – heavy as fuck. I decided to build a super-big cloud and I completely underestimated its weight. It was so hard to get it to hang from the ceiling because – and here comes the problem – the ceiling is like 100 years old or whatever and you cannot hang such heavy stuff from it. I found out, ‘oh shit, I built this huge cloud and I can’t really hang it from where I want.’”
By knocking and drilling, he eventually found out where the ceiling joists were. Then he solved the issue by constructing elaborate supports held up by king-sized 20-centimetre screws. Not fun! So what would Philip do differently if he were to do it again? “I would just build more of these individual acoustic panels,” he said. “Then I’d hang them individually to evenly distribute the weight. They would also be way easier to hang. So, now it looks nice and it’s fine but that was definitely the biggest pain moment.”
13. Don’t be shy about sharing your journey

“These two months were a big part of my life and an interesting personal journey. I’m just very proud of what I’ve achieved in that time. I wanted to share that because it’s part of who I am”
Looking on, open-mouthed, at Philip’s unfolding construction journey via my Facebook and Instagram feeds, it got me to thinking, why was it important for him to share his studio-building experience with his followers? Especially considering how exhausted he must have been.
“I’m a big fan of authenticity on these channels,” he clarified. “I’m not a person who does everything correct by the social media 101 rule book of today. I don’t post several times a day like a lot of other people do and I’m not constantly sharing Instagram stories. But when I share something, I’m a big fan of sharing something that has meaning. These two months were a big part of my life and an interesting personal journey."
"I’m just very proud of what I’ve achieved in that time. I wanted to share that because it’s part of who I am. This is what I want to display on social media. If not, I don’t want to display anything that’s just fake or driven by tactics.”
“The artists I’m working with are happy to see stuff like that as well because they can learn something from it,” he continued. “I also have my own blog where I post stuff from time to time. I expand a little bit into the depths of acoustics and try to help people. This is something that I’m all about. If somebody picks up a useful tip from my challenges, then I’m super happy if it gives them an easier life.”
Follow Philip Röder on his Copilco Productions Facebook, Instagram and website. To keep up with his music, follow his Copilco Facebook and SoundCloud.
Photography by Temi Hollist.